
We will make it easy for you: Simply implement our solution and be ready to start monetizing your product immediately! Let users earn your virtual currency by simply participating in exciting and well paid online surveys!
This SDK is owned by MakeOpinion GmbH.
- Android SDK 19 (KitKat) or newer
- iOS Target 9 or newer


Click the image to watch a step-by-step tutorial on how to use the SDK.
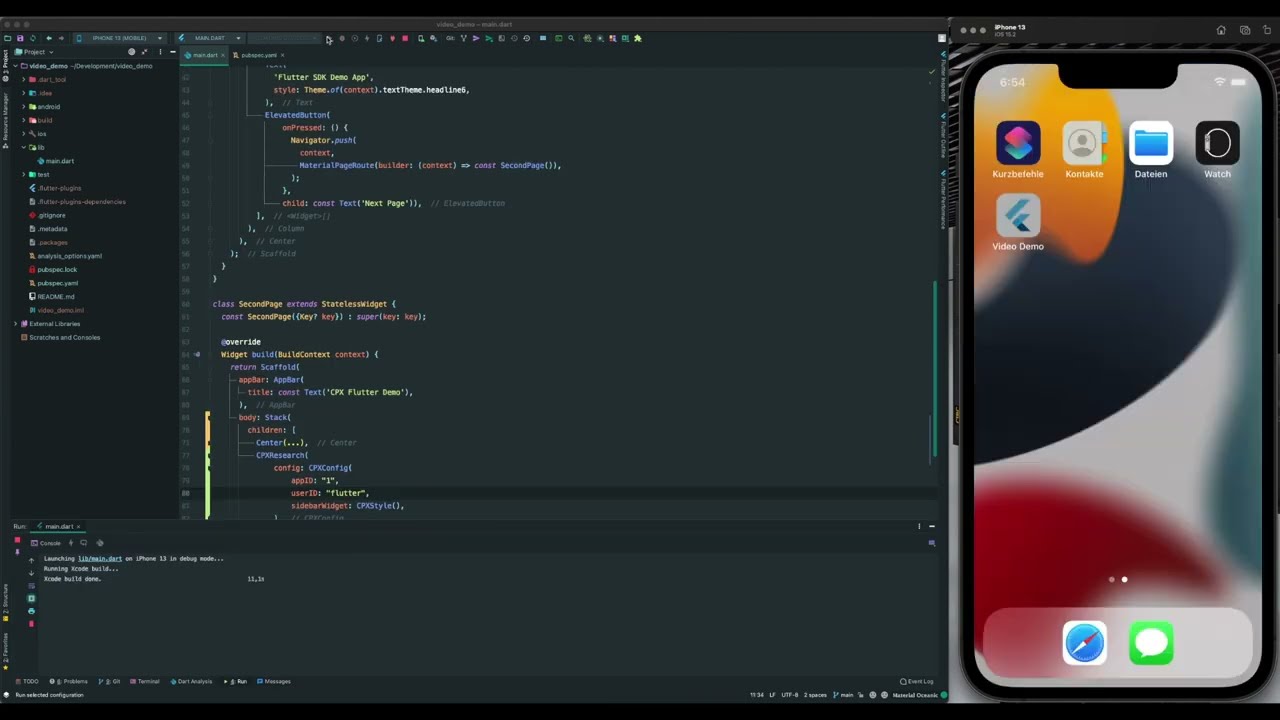
- Add the package to the dependencies in your pubspec.yaml file.
❗️ Null-Safety: with version
0.4.0we introduced null-safety.
dependencies:
  cpx_research_sdk_flutter:
    git:
      url: https://github.com/MakeOpinionGmbH/cpx-research-SDK-Flutter.git
      path: cpx_research_sdk_flutter
      // without a ref Flutter uses the main branch by default
      // use ref to get different versions, like 0.3.1 or 0.4.1
// ref: 0.4.1- Now import the package in your dart files and use it like any other Flutter package.
import 'package:cpx_research_sdk_flutter/cpx.dart';Simply add the showCPXBrowserDialog() function in your app, e.g. in any onPressed() function.
TextButton(
  onPressed: () => showCPXBrowserDialog(
      context: context,
      config: CPXConfig(appID: "<Your app id>", userID: "<Your external user id>")),
  child: const Text('Open CPX Browser'),
),Simply add the CPXResearch Widget in a Stack Widget anywhere in your app.
To display the CPXResearch Widget only in specific views, add it inside those views in a Stack Widget (example in Demo App class SecondRoute).
@override
Widget build(BuildContext context) {
  return Scaffold(
      appBar: AppBar(title: Text(widget.title),),
      body: Stack(
        children: [
          Center(
            child: Text(
              'This is a Details Screen',
            ),
          ),
          // Easy CPX
          CPXResearch(
            config: new CPXConfig(
                appID: "<Your app id>",
                userID: "<Your external user id>",
                sidebarWidget: new CPXStyle())),
        ],
      ),
  );
}For an entire app overlay add it to your MaterialApp Widgets builder (example in Demo App class MyApp).
@override
Widget build(BuildContext context) {
  return MaterialApp(
      title: 'Flutter Demo',
      theme: ThemeData(
        primarySwatch: Colors.blue,
      ),
      home: MyHomePage(title: 'CPX Flutter Demo'),
      // add following code:
      builder: (context, child) {
        return Material(
          child: Stack(
            children: [
              child,
              // Easy CPX
              CPXResearch(
                  config: new CPXConfig(
                      appID: "<Your app id>",
                      userID: "<Your external user id>",
                      sidebarWidget: new CPXStyle())),
            ],
          ),
        );
      });
}Customize every CPX Widget as it fits your needs
CPXStyle cornerstyle = new CPXStyle(
  position: WidgetPosition.CornerTopRight,
  width: 100,
  height: 100,
  text: "click here",
  textSize: 10,
  textColor: Colors.white,
  backgroundColor: Colors.orange,
  roundedCorners: 100,
);

CPXStyle sidebarstyle = new CPXStyle(
  position: WidgetPosition.SideLeft,
  width: 50,
  height: 200,
  singleSurvey: true,                         // Add this line, if the webview should show a single survey
  text: "New Survey available",
  textSize: 10,
  textColor: Colors.white,
  backgroundColor: Colors.orange,
  roundedCorners: 100,
);

CPXStyle notificationstyle = new CPXStyle(
  position: WidgetPosition.ScreenCenterBottom,
  width: 200,
  height: 100,
  text: "New Survey\nParticipate now!",
  textSize: 10,
  textColor: Colors.white,
  backgroundColor: Colors.orange,
  roundedCorners: 20,
);

CPXConfig cpxConfig = new CPXConfig(
    appID: "<Your app id>",
    userID: "<Your external user id>",
    cornerWidget: cornerstyle,                // Add this line, to add the corner widget to the view
    sidebarWidget: sidebarstyle,              // Add this line, to add the sidebar widget to the view
    notificationWidget: notificationstyle);   // Add this line, to add the notification widget to the view

@override
  Widget build(BuildContext context) {
    return MaterialApp(
        title: 'Flutter Demo',
        theme: ThemeData(
          primarySwatch: Colors.blue,
        ),
        home: MyHomePage(title: 'CPX Flutter Demo'),
        // add following code:
        builder: (context, child) {
          return Material(
            child: Stack(
              children: [
                child,
                // Advanced CPX
                CPXResearch(config: config)
              ],
            ),
          );
        });
  }
Add the CPXResearch Widget with an easy config, but leave the styles empty. Now handle the CPXResearch Response with the listeners below and use your own Widgets to display the surveys.
Widget build(BuildContext context) {
  CPXConfig cpxConfig = new CPXConfig(
      appID: "<Your app id>",
      userID: "<Your external user id>");

  return MaterialApp(
      title: 'Flutter Demo',
      theme: ThemeData(
        primarySwatch: Colors.blue,
      ),
      home: MyHomePage(title: 'CPX Flutter Demo'),
      // add following code:
      builder: (context, child) {
        return Material(
          child: Stack(
            children: [
              child,
              // Expert CPX
              CPXResearch(config: cpxConfig)
            ],
          ),
        );
      });
}First add the CPXResearch Widget with an easy config as in Getting Started (Expert) and leave the styles empty again. Now add the CPXSurveyCards Widget anywhere within the Material App to display the Cards.
@override
Widget build(BuildContext context) {
  return Scaffold(
    body: Column(
      mainAxisAlignment: MainAxisAlignment.center,
      children: <Widget>[
        Text('Flutter SDK Demo App'),
        CPXSurveyCards(),
      ],
    ),
  );
}To customize the styling and behavior of the cards, add the following properties.
@override
Widget build(BuildContext context) {
  return Scaffold(
    body: Column(
      mainAxisAlignment: MainAxisAlignment.center,
      children: <Widget>[
        Text('Flutter SDK Demo App'),
        CPXSurveyCards(
          hideIfEmpty: true,        // use either the 'hideIfEmpty' or the 'noSurveysWidget' property
          noSurveysWidget: Text('I show up, if there are no surveys available'),
          config: CPXCardConfig(
            accentColor: Colors.green,
            cardBackgroundColor: Colors.black,
            cardCount: 2,
            inactiveStarColor: Colors.grey,
            starColor: Colors.lightGreenAccent,
            payoutColor: Colors.orange,
            textColor: Colors.white
          ),
        ),
      ],
    ),
  );
}CPXData.cpxData.surveys.addListener(() {
// YOUR CODE - access surveys via CPXData.cpxData.surveys
});CPXData.cpxData.transactions.addListener(() {
// YOUR CODE - access transactions via CPXData.cpxData.transactions
});Controller.controller.areCPXWidgetsDisplayed.addListener(() {
// YOUR CODE - access browser state via Controller.controller.areCPXWidgetsDisplayed
});Add surveys and transactions listeners as shown before, to access the response
fetchCPXSurveysAndTransactions();Add surveys and transactions listeners as shown before, to access the response
markTransactionAsPaid("<transactionID>", "<messageID>");Open the WebView (optionally with a specific survey ID)
showBrowser("surveyID");The SDK provides a Logger.
@override
void initState() {
  CPXLogger.enableLogger(true);   // Enable the Logger
  CPXLogger.log("message");       // Use the Logger functionality
  CPXLogger.getLogs;              // Get all SDK logs from memory as list
  super.initState();
}To allow haptic feedback from the package you probably have to add the following code in the AndroidManifest.xml
<uses-permission android:name="android.permission.VIBRATE" />On some devices it might be necessary to add the internet permission to the AndroidManifest.xml
<uses-permission android:name="android.permission.INTERNET"/>